Foam board insulation: EPS, XPS and polyiso compared, where to use them and how to install
Rigid foam board insulation explained: EPS, XPS and polyiso, R-value per inch and moisture, where each works best, sealing seams and fire safety.
By Revivista Editorial TeamUpdated 2 min read
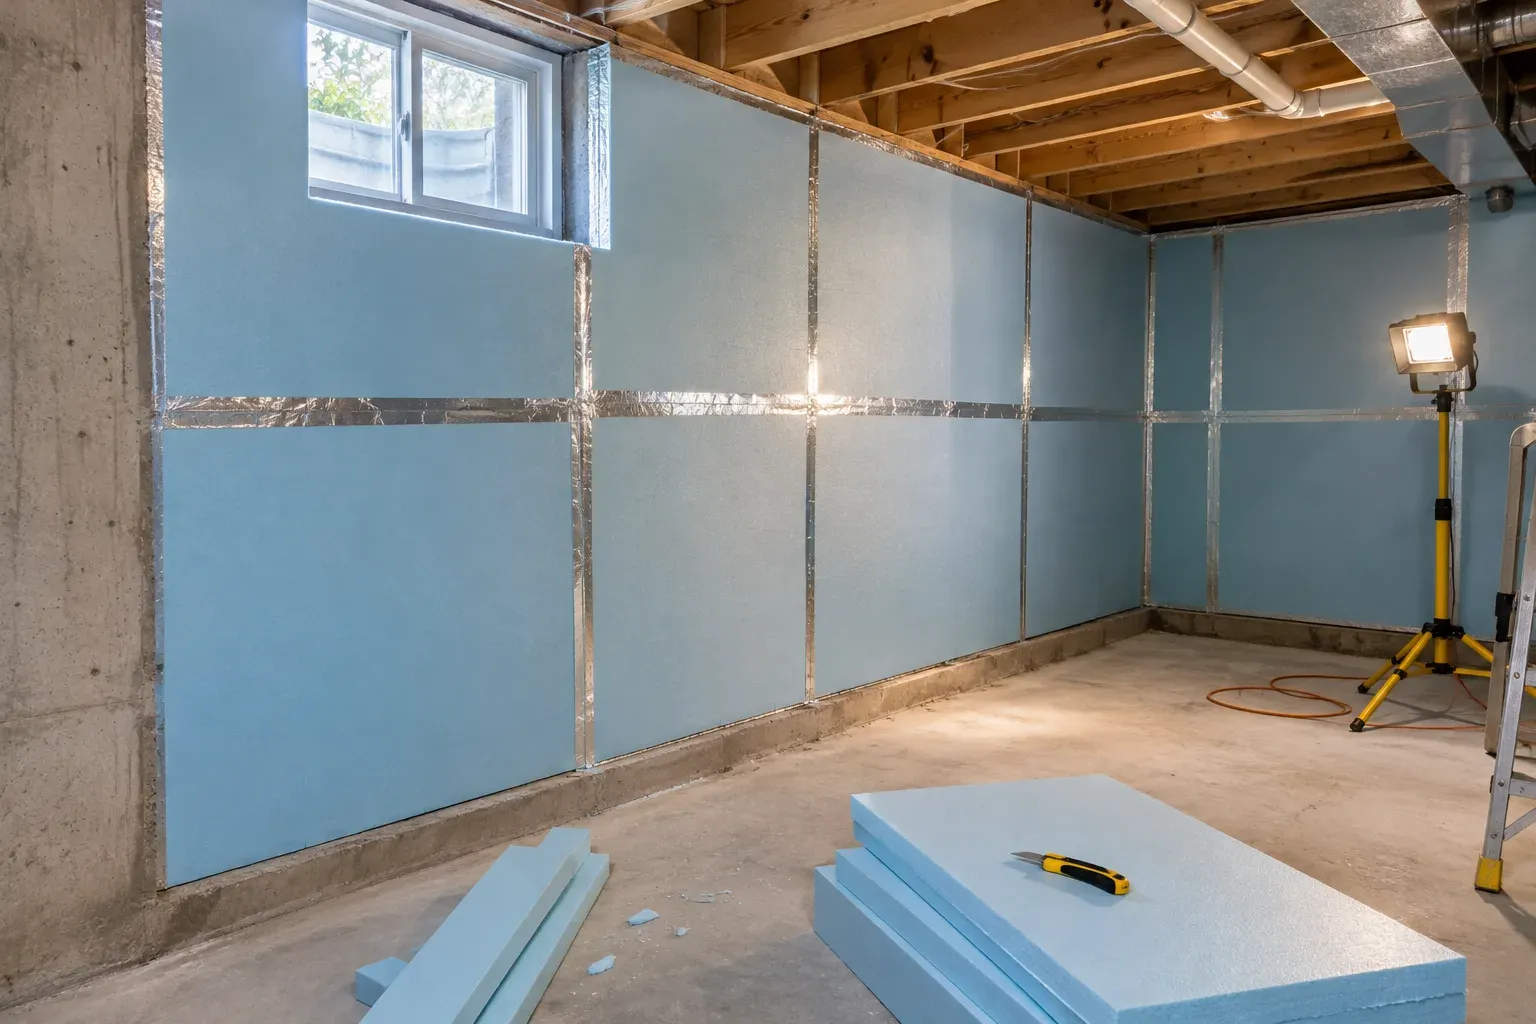
Rigid foam boards are sheets of plastic foam that add continuous insulation with high R-value per inch. They are used on basement walls, under slabs, as exterior sheathing under siding and in many retrofit projects. There are three main types, and they behave differently with moisture and temperature.
The three main types
| Type | Look | Strengths | Watch out for |
|---|---|---|---|
| EPS (expanded polystyrene) | White beads | Lowest cost, available in many thicknesses, tolerates some moisture and lets it dry | Lowest R-value per inch of the three |
| XPS (extruded polystyrene) | Usually blue, pink or green | Higher R per inch than EPS, resists moisture, strong | Higher cost; check the blowing agent and environmental data |
| Polyiso (polyisocyanurate) | Foil-faced | Highest R per inch at moderate temperatures; foil facer can act as a radiant barrier | Performance can drop in very cold conditions; foil facing blocks vapor |
The R-value for each product is printed on the board or in the data sheet. Compare R-value per inch and total R-value of the thickness you buy, not brand claims.
Where each works best
- Basement walls: XPS or EPS fixed directly to concrete, with seams taped, is a common approach. Building codes usually require a covering such as drywall over interior foam.
- Under concrete slabs: high-compressive-strength XPS or EPS rated for below-slab use.
- Exterior sheathing: continuous foam over studs under siding reduces thermal bridging through the framing. ENERGY STAR recommends adding R5 to R10 insulating sheathing when replacing siding in many climate zones.
- Attic hatches and rim joists: cut-to-fit boards with sealed edges are an easy upgrade.
Use our insulation calculator to see how much a given R-value improves a wall or roof.
Installing foam board
- Clean and dry the surface; fix any water leaks first.
- Measure and cut with a utility knife (score and snap) or a fine-tooth saw.
- Fix the boards with foam-compatible adhesive and/or mechanical fasteners with washers.
- Seal all seams with the manufacturer’s tape, and fill gaps with low-expansion spray foam.
- Cover the foam where required: most foam plastics need a thermal barrier such as gypsum board when installed inside living spaces.
Moisture and vapor
Foam boards affect how walls dry. Foil-faced polyiso and thick XPS slow vapor movement a lot. Where you put foam (inside or outside the wall) and how thick it is matters for condensation risk, depending on your climate zone. For exterior foam on walls and for cathedral ceilings, follow your local building code or get advice from a building professional.
Fire safety
Foam plastic insulation is combustible. Building codes require it to be covered with an approved thermal barrier in most interior locations and set rules for attics and crawl spaces. Do not leave foam exposed inside the house.
Quick checklist
- Type chosen for location: EPS, XPS or polyiso
- Total R-value checked against your climate zone
- Seams taped and gaps foamed
- Thermal barrier installed where required
- Moisture strategy suitable for your climate
Sources
- ENERGY STAR — Recommended home insulation R-values — accessed November 9, 2026