Chain link fence: heights, wire gauge, coatings and how installation works
How to choose a chain link fence: height, wire gauge and mesh size, galvanized or vinyl-coated, posts and fittings, privacy slats, and the steps of installation.
By Revivista Editorial TeamUpdated 2 min read
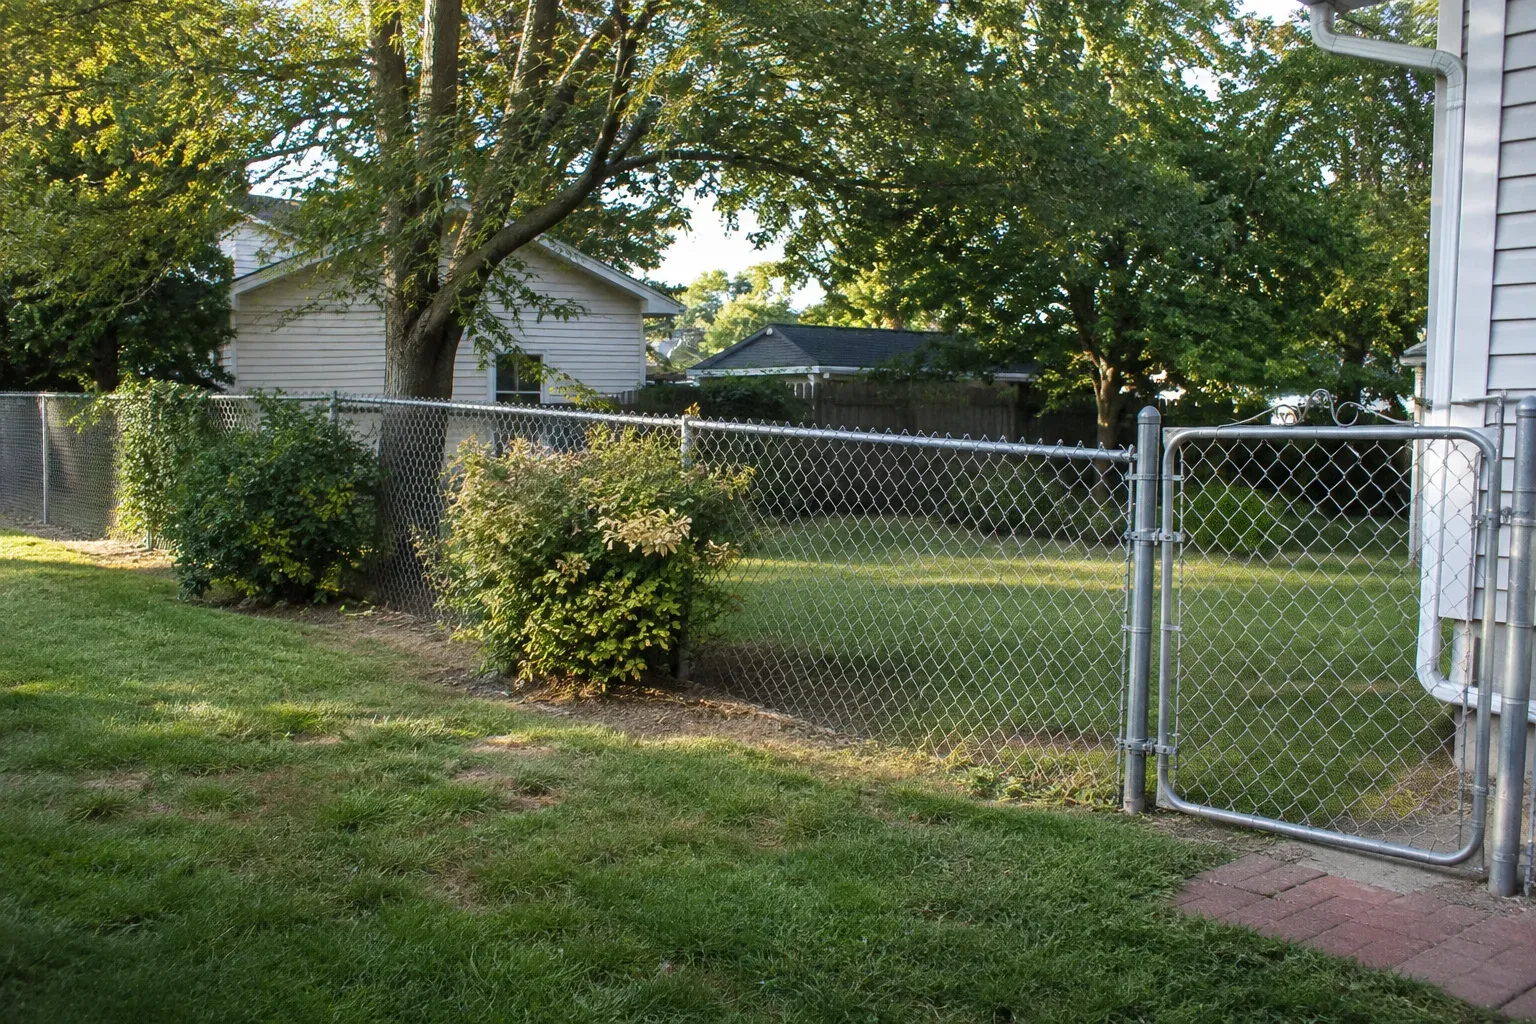
A chain link fence is woven steel wire stretched between metal posts. It is one of the most practical ways to fence a yard: durable, low-maintenance and see-through, so it keeps pets and kids in without blocking light or views. The main choices are height, wire gauge, mesh size and coating.
Height
Residential chain link is commonly sold in heights such as 4, 5 and 6 feet. Pick the height for the job:
- Front yards: often lower; many towns limit front fence height.
- Pets: the size and jumping ability of your dog decide.
- Pools: pool barriers have specific height, gap and gate rules in most local codes.
Check local rules first. Your city or county, and any HOA, may limit height, placement and style, and many require a permit.
Wire gauge and mesh
- Gauge describes wire thickness: the lower the number, the thicker the wire. Thicker wire is stronger and resists bending and cutting better.
- Mesh size is the width of the diamond openings. Smaller openings are harder to climb and better for small pets.
Coatings
| Finish | Look | Notes |
|---|---|---|
| Galvanized | Silver, industrial | Zinc coating protects against rust; the most common and usually the lowest cost |
| Vinyl-coated (black, green, brown) | Blends into gardens | Extra protective layer; posts and fittings usually coated to match |
| Aluminized | Silver | Aluminum coating for corrosion resistance |
Posts and fittings
- Terminal posts (end, corner and gate posts) take the tension of the fabric and are heavier than line posts.
- Line posts run between them at regular intervals; follow the manufacturer’s maximum spacing.
- A top rail keeps the top straight; a tension wire at the bottom stops the mesh from being pushed out.
- Tension bars and bands fix the fabric to terminal posts; ties attach it to line posts and the top rail.
Privacy
Chain link is see-through by design. For privacy, add privacy slats woven into the mesh, privacy screening fabric, or plant a hedge or climbers alongside.
How installation works
- Confirm the property line and local permit rules.
- Call 811 before you dig so buried utility lines can be marked.
- Mark post positions with stakes and a string line.
- Dig post holes and set terminal posts in concrete first; let it cure. Our concrete calculator works out how much you need for round post holes.
- Set line posts in line with the string.
- Fit the top rail, then unroll and stretch the fabric with a come-along or fence stretcher.
- Fix the fabric with tension bars, bands and ties, then hang the gates.
Stretching the fabric evenly is the step where most DIY fences go wrong — a loose fence sags. Many homeowners hire a fence contractor for long runs or sloping ground.
Quick checklist
- Local height, permit and HOA rules checked
- Property line confirmed, 811 called
- Height, gauge, mesh and coating chosen
- Terminal posts set in concrete
- Fabric stretched tight and fixed every few feet