How to paint kitchen cabinets: a step-by-step guide for a finish that lasts
How to paint kitchen cupboard doors and carcasses so the finish lasts: cleaning, sanding, primer, paint choice, brushes or rollers, and drying times.
By Revivista Editorial TeamUpdated 3 min read
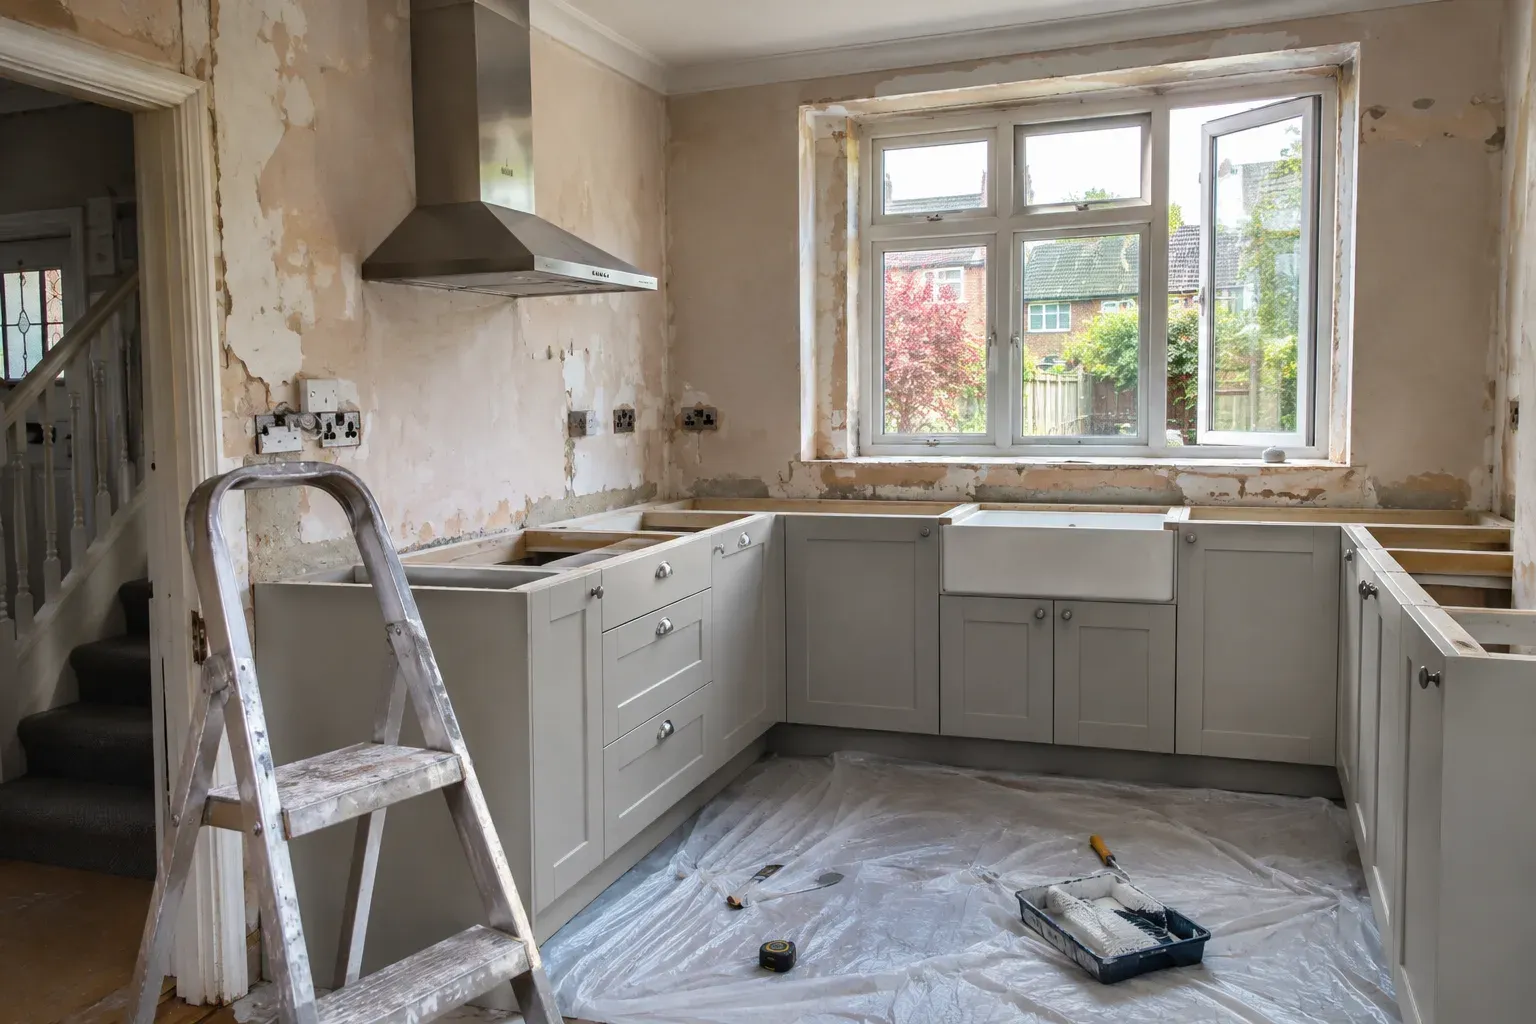
Painting kitchen cabinets is one of the cheapest ways to change how a kitchen looks — but it is also one of the easiest jobs to get wrong. Doors are handled every day, splashed and wiped, so a finish that looks fine on a bedroom wall can chip within weeks on a cupboard. The secret is preparation and the right primer, not the top coat.
Here is the process from start to finish.
What you need
- Screwdriver, masking tape, and labels or a marker
- Degreaser (a sugar soap solution or a dedicated degreasing cleaner)
- Sanding pads or abrasive paper: about 120 grit for keying, 240 grit between coats
- A vacuum and tack cloth
- Primer suited to the surface — a bonding or “adhesion” primer for laminate, vinyl-wrap or glossy finishes; a stain-blocking primer for bare or knotty wood
- Paint made for cupboards or furniture. Water-based eggshell or satin finishes are easier to keep clean than matt.
- A good synthetic brush for detail, plus a small foam or microfibre roller for flat panels
- Dust sheets and somewhere flat to lay doors while they dry
Step 1: Check what your doors are made of
Look at an edge or the back of a door.
- Solid or veneered wood: paints well after sanding and priming.
- Painted MDF: paints well; sand lightly to key the surface.
- Laminate or melamine (hard plastic face): paintable, but only with a bonding primer — ordinary undercoat will peel.
- Vinyl wrap (foil): if it is lifting or bubbling, paint will not fix it. Re-wrapping or new doors may be the better option.
If you are not sure, test a hidden area first: prime it, let it cure, then try to scratch it off with a fingernail or a strip of tape.
Step 2: Remove doors, drawers and handles
Take doors off their hinges and remove handles. Label each door and its hinge position — a strip of tape inside the cupboard with a matching number saves a lot of time later. Painting doors flat avoids runs and gives a smoother finish.
Step 3: Degrease thoroughly
Kitchen cabinets carry a thin film of cooking grease, especially near the hob and around handles. Paint will not bond to it. Wash every surface you plan to paint with degreaser, rinse with clean water, and let it dry completely.
Step 4: Sand to “key” the surface
You are not trying to remove the old finish, just to dull it so the primer can grip. Sand evenly with about 120 grit until the shine has gone. Vacuum, then wipe with a tack cloth.
Step 5: Prime
Apply one thin, even coat of the right primer. Thin coats dry harder and level better than thick ones. Follow the drying time on the tin before sanding lightly with 240 grit and dusting off.
Step 6: Paint in thin coats
- Brush paint into the recesses and edges of panelled doors first.
- Roll the flat areas while the brushed paint is still wet, then “lay off” with light strokes in one direction.
- Leave each coat to dry for the time on the tin, sand lightly with 240 grit, and dust off.
- Most cupboards need two top coats; pale colours over dark ones may need a third.
To estimate how much paint you need, measure the doors and carcass faces and use the paint calculator — set “Paint the ceiling too?” to No and use the coverage printed on your tin.
Step 7: Let it cure before rehanging
“Touch dry” is not the same as hard. Many cupboard paints take several days to a few weeks to reach full hardness. Rehang doors carefully, avoid scrubbing for the first weeks, and fit soft-close buffers if doors slam.
Common mistakes
- Skipping the degreaser — the most common cause of peeling.
- Using the wrong primer on laminate — paint will scratch off.
- Thick coats — they sag, take longer to cure and stay soft.
- Painting in a cold, damp kitchen — check the minimum temperature on the tin.
- Rehanging too soon — doors stick to the frame and the paint marks.
Should you paint or replace?
Painting makes sense when the carcasses are sound and the doors are a paintable material. If the cabinets are swollen from water damage, the hinges no longer hold, or the vinyl wrap is lifting, you will get a longer-lasting result from replacement doors. See our guides to kitchen renovation for that route.